Buffalo Chicken Burger Sliders

Tuesday, May 31, 2011

I have to get something off of my chest: I am Buffalo Sauce crazy!  I love everything dipped, dunked and drizzled with it.  As many of you know, the majority of the things made with Buffalo Sauce are not the best for us.  Case in point: Buff Chick.  But, we all need to give a little sometimes when it comes to the diet.  

Mr. Schwartz and I went grocery shopping together over the long weekend.  I secretly, maybe not so secretly, love going grocery shopping.  I especially love grocery shopping with Mr. Schwartz.  Two of my favorite things: 1. basket full of possibilities and 2. hanging out with the love of my life.  

Anyway,  we stumbled across slider buns when we were shopping and the idea struck me.  Buffalo Chicken Burger Sliders.  I don't know about you but I hate eating Buffalo Chicken Sandwiches.  The chicken slides around and ultimately you end up getting only bun in your bite.  I figured making little ground chicken patties could solve this problem....they totally did!  Aaaand these babies have wayy less fat and calories than Buffalo Wings. 

Musical Selection: Hello by: Martin Solveig feat. Dragonette. Just because it sounds good. 

Here it goes! 
Start by mixing the Italian Seasoning, paprika, salt, poultry seasoning and Montreal Chicken Seasoning together in a small bowl.
If you haven't tried this Montreal Chicken seasoning from Grill Mates it is absolutely fantastic!  My dad makes the best chicken on the grill just coated in this stuff.  Amazing flavor.
Combine the spices with your ground chicken.  Add a few cracks of black pepper as well.
Next a few gluggs, approx 3, of Worcestershire sauce.  I'm pretty impressed that I no longer have to spell check Worcestershire since I use it so often.  Worcestershire. Worcestershire. Worcestershire! Anyway, add the buffalo sauce as well.
At this point the chicken mixture will feel a bit gloopy.  I know, not a real word but it really describes how they feel. Give it a shot. I bet you will call them gloopy.  But, they are in the background of this picture in little mini patties.  Front and center, the inspiration--slider buns! On special I might add!
Pre-heat your grill or grill pan and start cooking away.  I cooked them for about 5 minutes on each side.  No one likes salmonella.
Top with additional Buffalo Sauce, ranch dressing, american cheese and thinly sliced celery.
These little buggers pack quite the flavorful punch!  Feel free to make them in a bigger version but I do think anything miniature is quite wonderful.
Oh hello little buffalo beauty! 

Enjoy! 

Ingredients

1 lb ground chicken
1/2 teaspoon paprika
1/2 teaspoon Italian Seasoning
1/2 teaspoon Montreal Chicken Seasoning
1/2 teaspoon poultry seasoning 
1/4 cup Buffalo Sauce--preferably Franks Red Hot Sauce
3 gluggs Worcestershire sauce 
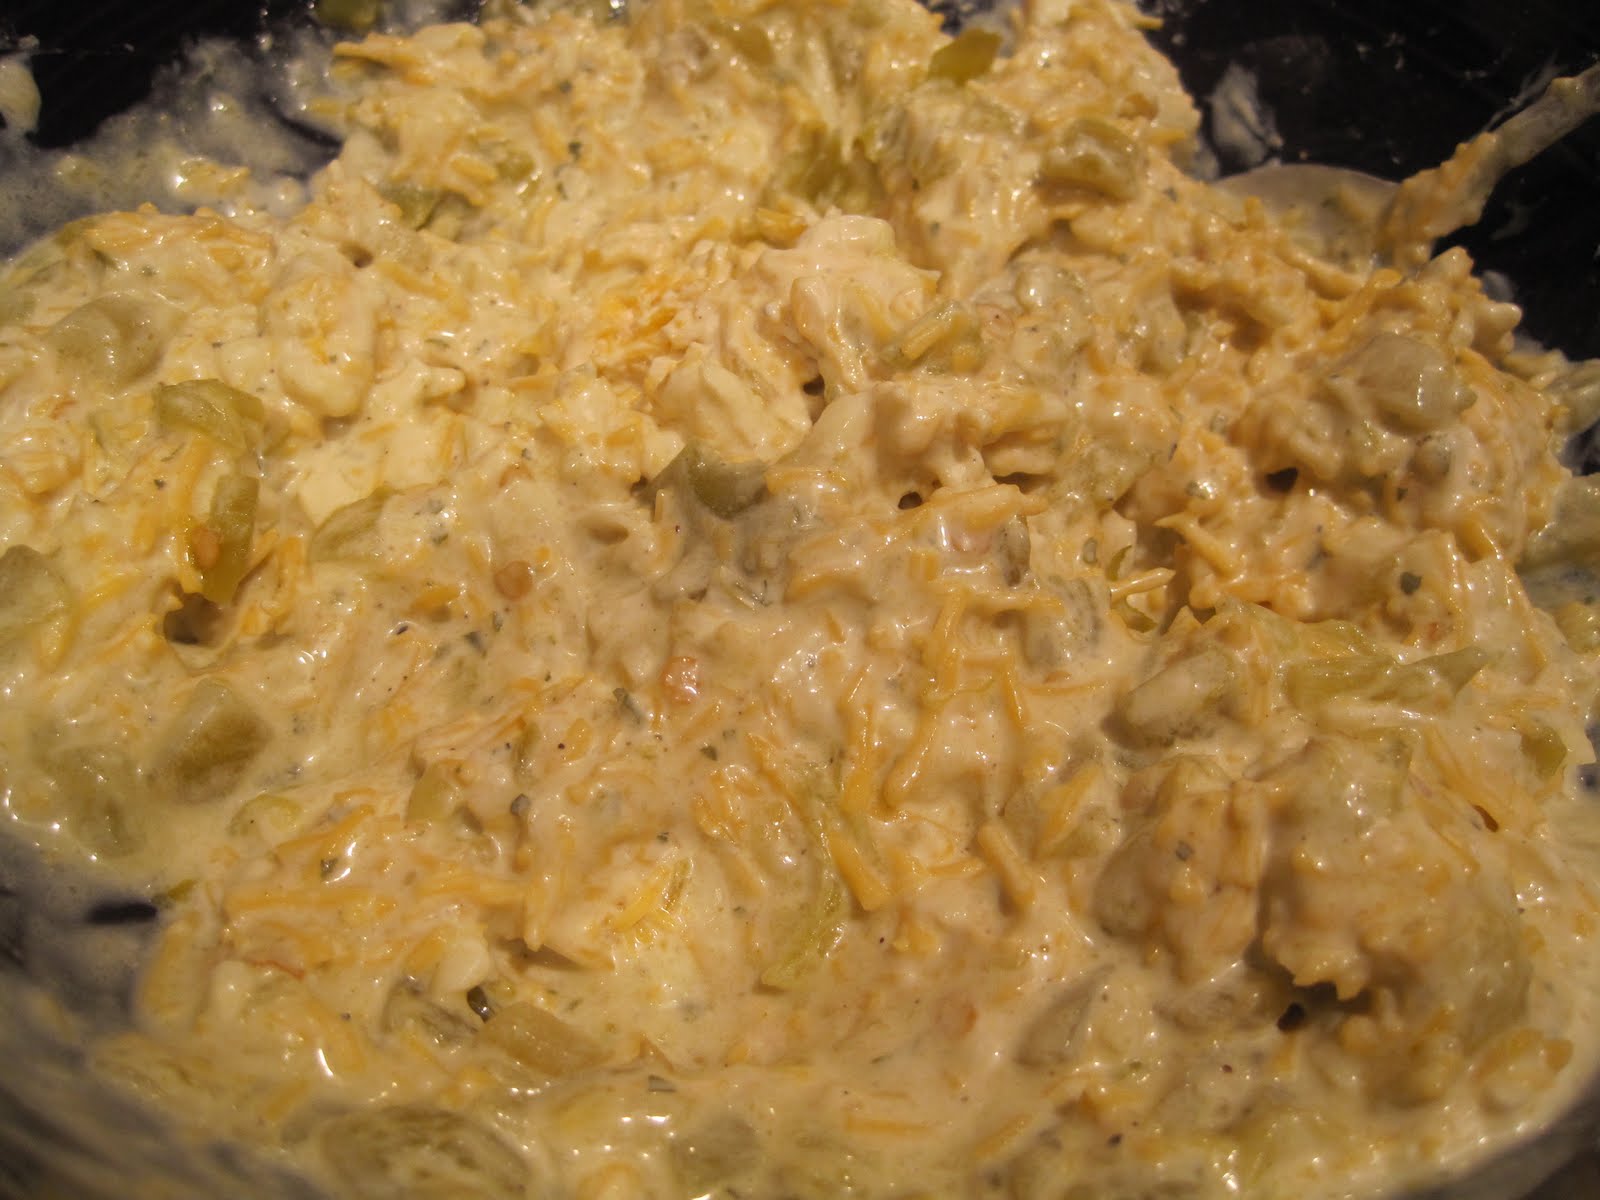
1/2 or so of ranch dressing
1/4 cup thinly sliced celery + more for serving
American Cheese 
carrot sticks 
Mini slider buns--or regular buns if you prefer

Mix seasonings together in a small bowl.  Incorporate with chicken.  
Add Buffalo Sauce and Worcestershire sauce.
Preheat grill/grill pan.
Grill small patties for about 5 minutes on each side or until fully cooked
Serve on buns with ranch, additional Buffalo Sauce, American Cheese and celery sticks.

Recipe by: Mrs. Schwartz 

Honey Mustard Chicken with Spring Risotto

Monday, May 30, 2011


I had this amazing risotto that my sister, Emily, made for us one evening a few weeks ago.  It was her first risotto ever and it was a smashing success!  We ate it simply with crusty bread and olive oil as the girls, her daughters, my nieces, nicely played on the deck.  Spring evening perfection.  

Inspiration photo from our wonderful evening. 

Ever since, I have been craving this dish.  Em did send me home with over two servings for lunch left overs...still didn't tide me over.

I made a little modifications from the original recipe and Emily's as well.  Probably one of my favorite texts ever from Emily came when she was in the grocery store shopping for dinner, "do we eat leeks?"  I replied with a "YES ABSOLUTELY THEY ARE WONDERFUL!" But, she didn't get it in time.  She went with onion in place of Ina's leeks and dill in place of the fennel.  I did mine mostly the same except I did keep the leeks.

Here's the breakdown:

Musical Selection: Proud to be an American. I had to, it's Memorial Day!  "From the Lakes of Minnesota...."

I'll start with the chicken since it is best to let it marinate as long as possible.  I found this recipe online and modified it a little bit as usual.  
Mix the whole grain mustard, yellow mustard, honey, lemon juice, garlic, paprika, red pepper flakes and brown sugar.  Reserve about a 1/2 cup for serving once cooked.  Pour remaining sauce over chicken.
Make sure you coat the chicken on all sides for even delivery of honey mustard goodness. Let the chicken marinade in the mixture for at least 45 minutes.  The longer this sits the better...over night would be awesome. Pop it in the fridge. 

When you are about 45 minutes away from when you would like to eat...start with the risotto.  Although making this (and any) risotto takes a while, it is quite easy. 

Start by thinly slicing the leeks.  Put them into your kitchen sink that is full of cold water.  Leeks are dirty, dirty little veggies and need a good cleaning.  No one likes a mouth full of sand. 
Preheat your skillet with the olive oil and butter.  Pop the leeks (after you squeeze them to get the water out) into the hot pan.  Saute for about 5 minutes along with the onion. 
While the leeks and onion saute, work on the asparagus.  To determine where they start to get "woody," snap one like this.  Where the first few snaps will let you know where to cut them as a bunch.  And no, I'm not, and will not be a hand model.  Yikes.

After you cut the aspragus, cook them quickly.  I popped mine in the microwave for about a minute.  You don't want to cook them all the way--I like a little texture in the risotto. 
 Then add the Aborio rice to the pan.  I toasted mine for about two minutes before adding the wine.  Add 1/2 cup of a dry white wine.  I had Pinot Grigio on hand so that is what I used.  Drink the remainder of the bottle...just kidding? 
Bring 5 cups of chicken stock to a boil in a separate pan.   Once the majority of the wine is absorbed, add the stock ladles at a time to the rice.  
After the chicken stock has been added....
Once the stock has bubbled away and soaked into the rice. Continue this process until there is no remaining chicken stock and the rice is tender. 

Back to the chicken....
You can either grill on an outdoor grill or on a grill pan like I did.  Preheat your grill/grill pan of choice and cook the chicken 6-7 minutes on each side. 

While your chicken grills, mix the Mascarpone and parmesan cheese, lemon zest and juice together in a small bowl. 
Add the frozen peas, asparagus and dill to the rice.  Let cook for about 2 minutes.  Test the peas to ensure they are cooked. 
Add the cheese mixture.  Sir together.
Plate risotto and chicken.  Take reserved honey mustard sauce and pour over chicken.  
After making this risotto I told Mr. Schwartz that I want to open a restaurant and serve only this risotto.  It really is that good. 
The chicken is also amazing--will be a summer grilling staple in our house! 

Enjoy!  And Happy Memorial Day!!! 


Spring Risotto 


Ingredients

  • 1 tablespoons olive oil
  • 1 tablespoons unsalted butter
  • 2 cups chopped leeks, white and light green parts
  • 1 medium onion
  • 1 1/2 cups Arborio rice
  • 2/3 cup dry white wine
  • 5 cups simmering chicken stock
  • 1 pound asparagus
  • 1 1/2 cups shelled fresh or frozen peas
  • Zest of 1 lemon
  • Kosher salt and freshly ground black pepper
  • 2 tablespoons freshly squeezed lemon juice
  • 1/3 cup mascarpone cheese
  • 1/2 teaspoon dill (dried is fine)
  • 1/2 cup freshly grated Parmesan, plus extra for serving
  • Dash of parsley--for serving 

Preparation 

Heat the olive oil and butter in a medium saucepan over medium heat. Add the leeks and onion and saute for 5 to 7 minutes, until tender. Add the rice and stir for about two minutes to coat with the vegetables, oil, and butter. Add the white wine and simmer over low heat, stirring constantly, until most of the wine has been absorbed. Add the chicken stock, 2 ladles at a time, stirring almost constantly and waiting for the stock to be absorbed before adding more. This process should take 25 to 30 minutes.
Meanwhile, cut the asparagus diagonally in 1 1/2-inch lengths and discard the tough ends. Cook in the microwave for about 1 minutes
Continue cooking and adding stock, stirring almost constantly, until the rice is tender but still firm.

Add the asparagus, peas and dill to the rice.  Cook for about two minutes. 
Whisk the lemon juice and mascarpone together in a small bowl. When the risotto is done, turn off the heat and stir in the mascarpone mixture plus the Parmesan cheese and chives. Set aside, off the heat, for a few minutes, sprinkle with salt and pepper, and serve hot with a sprinkling of parsley and more Parmesan cheese.
Adapted from here 


Honey Mustard Chicken


Ingredients:
 
1/4 cup of Whole Grain Mustard
1/4 cup Yellow Mustard 
1/2 cup of Honey
Juice of 1/2 a Lemon
1 Garlic Clove, smashed and minced or about 1 teaspoon 
1/2 teaspoon  Salt
1/4 teaspoon Red Pepper Flakes
1/4 cup brown sugar 
3-4 Boneless Skinless Chicken Breasts

Preparation:

Whisk all ingredients in a small bowl. Reserve 4 tablespoons of sauce and then pour the remaining honey mustard mixture over the chicken, toss and cover with plastic wrap and let it sit for at least 30-45 minutes, preferably over night in the refrigerator. Preheat the grill on medium- medium high heat, grill chicken for about 6 to 7 minutes per side or until chicken is done. Pour the reserved honey-mustard sauce over chicken and let rest under foil for about 5 minutes. Enjoy! 

Adapted from here


Waffle Saturday--Upgrade!

Saturday, May 28, 2011

Mr. Schwartz and I have Waffle Saturdays whenever we are at home Saturday mornings.  I will ask "waffles for breakfast?" and Mr. Schwartz will reply "is it Saturday?"  Yes, always waffles.  It usually goes that Mr. Schwartz will make the waffles since I make dinner every night because I get home from work before he does.  Our rule is the cook doesn't clean--well clean everything I guess.

So today I thought I'd switch things up and make waffles for us.  I had a little idea pop into my head when I woke up this morning--Almond Poppyseed Waffles.  Just the addition of two little ingredients and wow a whole new waffle is created.

Musical Selection: Stole My Heart by Little and Ashley.  Just a cute little tune for a Saturday morning cooking for my lovie.  Guess I'm really cheesy today.  Oh well....
Start by mixing up a batch of your favorite waffles from a mix.  The yield on the recipe I used said it will make 12 4" waffles. You can totally make waffles from scratch but we use this huge bag from Costco.  My mom always made home-made waffles from her orange Betty Crocker cookbook which I believe she received as a wedding present.  You can find the page by looking for the one that is vegetable oil stained.
After you mix up a batch of waffles add a teaspoon of poppy seeds. I love poppy seeds.  In dressing, desserts, now waffles. I love them. Please mail, forward, fax, email, telegram me your favorite poppy seed recipes! I need them. 
Then add a 1/2 of a teaspoon of almond extract.  
Cook waffles as directed on whatever directions you are using. 
Serve with maple syrup (we use the less sugar Target brand--awesome stuff!)

Happy Waffle Saturday! 

Almond Poppy Seed Waffles

1 Recipe for waffles
1 teaspoon poppy seeds
1/2 teaspoon almond extract 
Butter/margarine
Maple syrup 

Preparation 
Prepare waffles as directed on package.  
Mix in poppy seeds and almond extract.
Cook as directed.
Top with butter or margarine and maple syrup 
Enjoy!!! 

Recipe by: Mrs. Schwartz 

Sweet and Sour Chicken

Thursday, May 26, 2011


I was in the mood for Chinese food tonight but didn't want to pay a restaurant to make it for me.  So, I started my google quest for sweet and sour chicken.  I wanted to save a few calories as well so I wanted to find something that didn't require deep frying even though Mr. Schwartz would have enjoyed that.

I found this recipe for "Chinese Take Out Fake Out."  Winner!  Sold. Done Deal.  Here's how I did it...

Musical Selection: Eric Hutchinson, Rock & Roll. Just because I like it.
Start by cutting the the chicken into large bite sized chunks.  Season with salt and pepper.
Coat with cornstarch then with eggs (that you have already whisked together).  I know I thought this sounded strange to me as well.  Typically you coat with eggs then flour.  But, for once, I was following directions.
Then place into a preheated pan with two tablespoons (or so) of vegetable or canola oil.  Looks weird huh?  I was very skeptical at this part...until it started smelling like Chinese food.  
Brown on all sides.  At this point you don't need to make sure the chicken is fully cooked as it will continue to cook in the oven.  Just brown it nicely for color and to start the cooking process. 
Whisk together the sugar, ketchup, soy sauce and garlic powder. 
Pour  1/2 of the sauce over the chicken.  The recipe I found said put in a 9x13 pan in a single layer.  Going back, I probably would have followed this part of the directions.  Always trying to be a rebel. 

Bake the chicken at 350 tossing the chicken every 15 minutes.  This will ensure that all the pieces of chicken are evenly coated with the delish sauce. 

After the second tossing of the chicken I put together a little stir fry to serve on the side.  

I cooked the carrots for about 2 minutes in the microwave to get a head start.  

Then added them to a preheated skillet with about a tablespoon of canola oil.  
Sauteed for about a minute then added the broccoli.  Season with salt and pepper.  

Once the veggies are at the desired doneness--we like our stir fry with a little bite so I cooked them for about 3 minutes together add your favorite Stir Fry Sauce.  
This is ours. A wonderful recommendation from my seester Emily. 
I also simmered the remaining sweet and sour sauce to thicken a bit.  Is this not the cutest little pot you have ever seen?  We got it for registering for so many pots and pans. Thanks Macys. I love this "butter warming pot"! 
Plate with rice and stir fry.  Drizzle with reduced sauce and top with sesame seeds...if you want. I like the texture and the toastyness-probably not a word-that they add. 
This was really, really good.  Yes tooting my own horn but really, this was good.  I would suggest adding red pepper flakes when you reduce the sauce.  The sweet and spicy combo would be great.

So going to make this again.  

Enjoy! 


Sweet and Sour Chicken
For the Chicken:
3-4 boneless,skinless chicken breasts, cut into chunks
Salt and pepper, to taste
1 cup cornstarch
2 eggs, slightly beaten
2 tbs canola or vegetable oil
For the Sauce:
1 1/2 cup sugar
1 cup ketchup
1 cup cup vinegar (preferably rice or white)
3 tablespoon soy sauce
1tablespoon garlic powder
1/2 teaspoon red pepper flakes (if desired)

Topping: 
Dash of sesame seeds 
Preheat oven to 350 degrees.
Cube chicken into large bite-sized pieces. Season chicken with salt and pepper.
Working in two batches, toss the chicken pieces in cornstarch and then coat with the egg.
Heat the oil over medium-high heat and again in two batches, brown the chicken, turning it so that all sides are browned.
Place the chicken in a single layer in a 9×13 baking dish.
Whisk together the sauce ingredients in a small bowl and pour 1/2 of the sauce evenly over the chicken. Turn the chicken to ensure each piece is coated.
Bake for 1 hour, turning the chicken every 15 minutes.
Reduce the remaining sauce in a small pan over medium heat.
Top with sesame seeds additional reduced sauce, serve with rice and stir fried veggies.

Adapted from: here


Taco Enchilada Bake

Tuesday, May 24, 2011

This morning while I was getting ready for work I was thinking of dinner...as usual.  In general I am a planner and there is no exception when it comes to meals.  I was also planning on working on a little foodie project for my twin God-baby-girls first birthday party tonight so I wanted to keep thing simple...and not have to go to the grocery store after work.

I began to scour our pantry and freezer for ideas in my towel as my hair dried.  Not trying to be sexy, just being honest.  I found this huge container of taco seasoning.  I got this whole thing for $3 at Costco.  Super deal.

So, I thought tacos...taco Tuesday yeah I get it but kind of boring.  Then I saw the enchilada sauce peeking out behind the taco seasoning...and green chilis.  Score the Taco Enchilada Bake was created in my mind.

Along with sour cream, cheddar cheese, taco sauce and ground beef we are set.

Musical Selection: Rumour Has it by Adele.  I have had it on re-play since my drive home with my buddy Melissa last night after happy hour.  Fantastic Jam. Let's cook.

First start by defrosting your meat.  I used extra lean ground beef from the St. Joe Meat Market.
Best meat market around.  If you don't have ground beef you can totally use boneless skinless chicken breast as well.
Chop an onion and add it to the meat in your pan.  Cook meat.  Does it annoy anyone else when you defrost meat in the microwave and parts cook...nothing chaps my ace more than that!
Add taco seasoning.  To be honest with you since I didn't use a packet and used this huge tub I'm not sure how much I used.  I bet about a packet.
Add 2/3 of a cup of water...just like making tacos.  I also added a good amount, probably 1/2 c of taco sauce as well. Set meat aside.
Mix cheese with 3/4-1 cup sour cream.  I used cheddar and monterey jack cheeses.  
I also added green chilis to the cheese mixture--just because I had them on hand.  I'm sure this would be just fine without it.

Grease your pan and put a little of the enchilada sauce on the bottom of the pan--mainly to keep the tortillas from sticking.
Put a layer of the tortillas down in the pan.  Add 1/3 of the meat mixture and some of the enchilada sauce.

Top with another layer of tortillas.
Add the cheese mixture to the top of the tortillas.
Add another tortilla and repeat with meat with enchilada sauce, tortilla, cheese mixture.  The top layer should be just enchilada sauce and cheese.

Bake in a preheated 350 degree oven.
Bake for about 30 minutes until golden brown and bubbly.
Hello taco and enchilada's love child.
Mmm...totally had seconds tonight.


Taco Enchilada Bake


Ingredients

1 Lb ground beef or two/three boneless skinless chicken breasts
1 medium onion, chopped
Taco Seasoning--1 packet
2/3 C water
2 C cheese of your choice (cheddar, monterey jack, pepper jack)
1/2 C sour cream
1/2 C taco sauce
1 Can diced green chilis
1 Can enchilada sauce
Tortillas

Directions
Preheat oven to 350
Cook meat with diced onion.  Add taco seasoning, 2/3 cup of water and taco sauce. Set aside.
Mix cheese and sour cream. Add green chilis.
Grease baking pan.  Add a small amount of enchilada sauce.
Put a layer of the tortillas down in the pan.  Add 1/3 of the meat mixture and some of the enchilada sauce.
Top with another layer of tortillas.
Add the cheese mixture to the top of the tortillas.
Add another tortilla and repeat with meat with enchilada sauce, tortilla, cheese mixture.  The top layer should be just enchilada sauce and cheese.
Bake for about 30 minutes until golden brown and bubbly.

Recipe by: Mrs. Schwartz 

Made With Love By The Dutch Lady Designs