
Are you Christmas cookie-d out yet? Well, I'm getting close but not before I share these pretty pinwheels.
Over Thanksgiving my Auntie Geri and I were having a conversation about Christmas cookies. She always makes these super cute candy cane cookies that are a ton of work. I was asking if she was making them again this year and she replied with, "of course, I have to." We went on to talk about the cookies I was making with my mom the next day and I told her I was looking for a cookie that could be my signature cookie like she has. I have decided…these are not it.
They are a ton of work and honestly are not very sweet. I'm into a super sweet cookie…these are not it. That also may or may not have something to do with the fact that I left out the granulated sugar. Hum…Either way the original recipe says they aren't super sweet. They however are ah-freaking-dorable though. I'm not saying don't make these…I'm saying don't think I will be making these every year. : )

{INSERT PICTURE OF ME ADDING GRANULATED SUGAR--my bad}


And flour


Christmas Pinwheel Cookies
2 cups flour + 1 tablespoon
1/2 teaspoon baking powder
1/4 teaspoon salt
2/3 cup powdered sugar
1/4 cup granulated sugar
2 1//2 sticks of cold butter
1 teaspoon vanilla
1/2 teaspoon almond extract (if you do this, add an additional tablespoon of flour to the colored dough)
1/2 teaspoon of food coloring
1 1/2 cups holiday sprinkles
Start by combining the flour, baking powder, salt, powdered sugar and granulated sugar in the bowl of a stand mixer. Give it a quick stir.
Cut butter into small tabs and add to the bowl. Give it a mix just until it is combined. Add the vanilla and mix again.
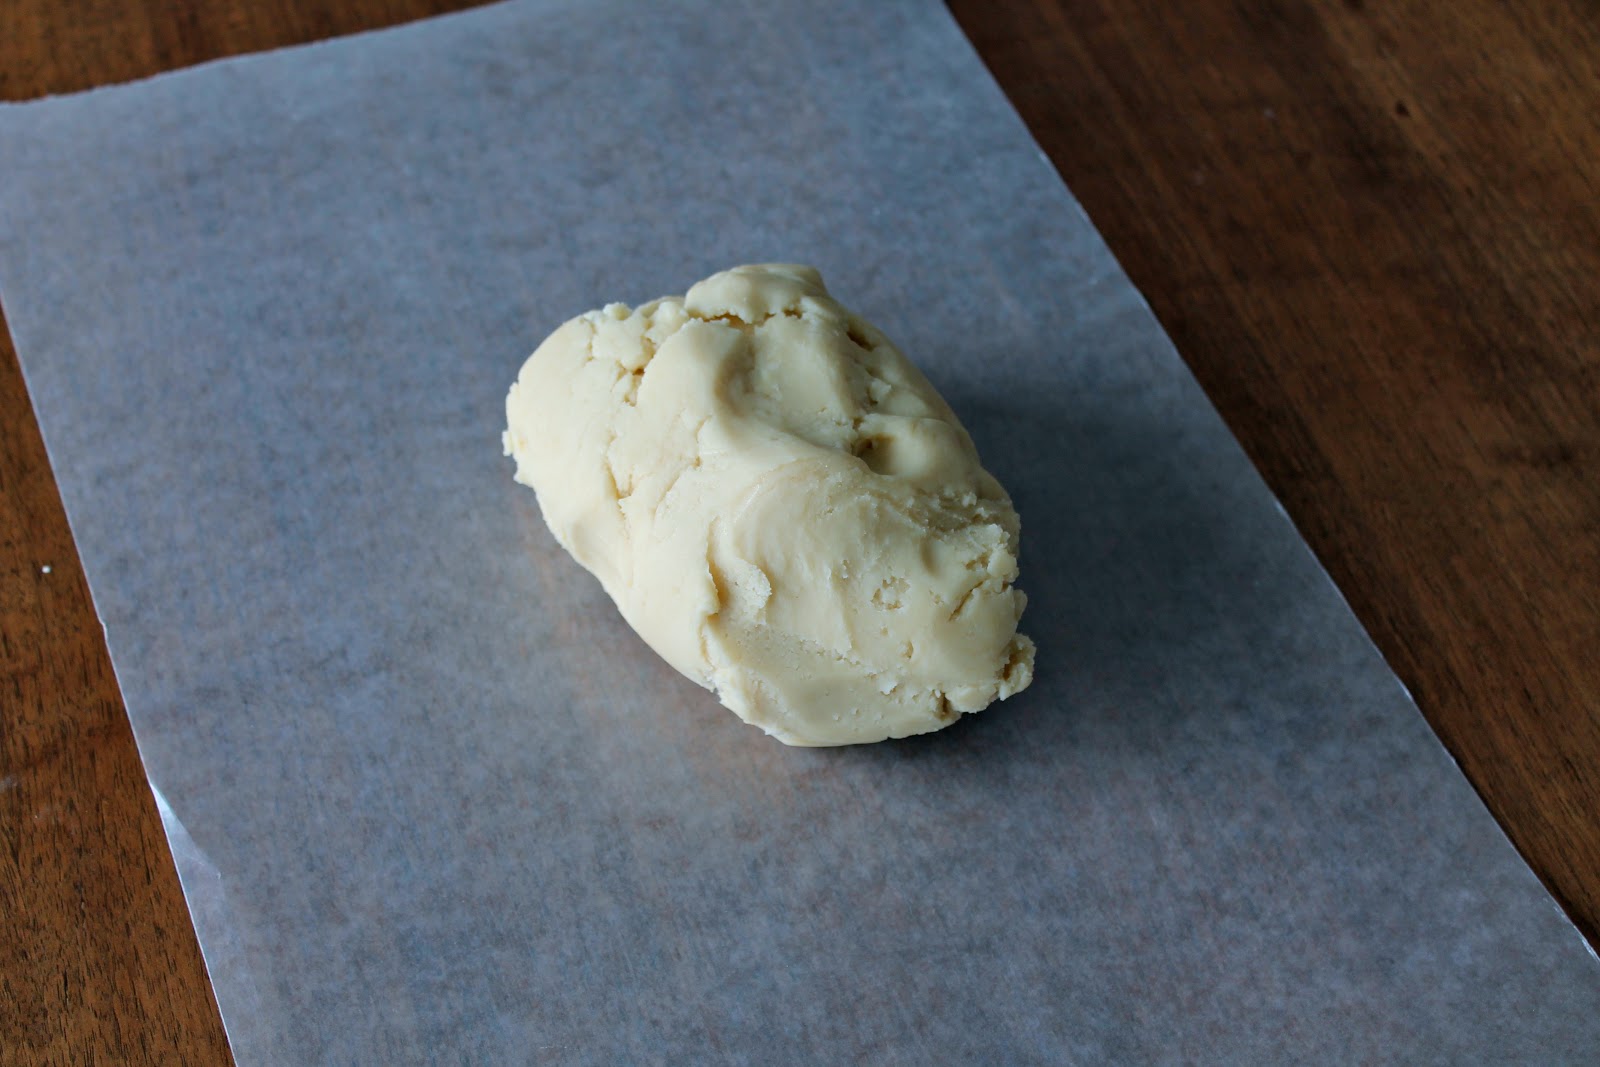
Remove half of the dough and place on a large piece of parchment paper. To the other half that is still in the bowl, add the food coloring, additional extract and 1 tablespoon of flour. Mix to combine again.
Place another sheet of parchment paper on top of the non-colored dough. Roll this dough out into a rectangle about 11x9 and 1/4 inch thick. Do the same with the colored dough separately. Keep the parchment on the dough and place in the freezer to harden. It is easier to do this if they are on a cookie sheet because you want them to be flat.
Once the dough is stiff, remove the parchment paper completely from the colored dough and the top sheet of the white dough. Place the colored dough on top of the white dough and place on the counter parchment side down. After the dough is pliable (this will take a little bit if it is truly frozen) gently roll as tightly as you can. The dough will break, just use your fingers to smooth out the cracks.
After rolling the dough, add the sprinkles to a large jelly roll pan and roll in the sprinkles. You will need to press them in to ensure the roll is fully covered in sprinkles. Wrap the dough roll in plastic wrap and either place in the fridge until firm again (about 3 or 4 hours) or freezer until you would like to bake. You can keep the dough in the freezer for up to two months.
When you are ready to bake, preheat the oven to 350 degrees. Unwrap the dough and place on a cutting board. Slice using a very sharp knife, about1/4 inch to 1/8 inch. I would error on the side of 1/4. Work quickly as it is more difficult to cut when the dough warms up. Place dough on a cookie sheet with a silpat mat or parchment paper. They will spread so be sure to give them enough room.
Bake for 15-17 minutes or just until the edges start to brown. Remove from the oven and let cool on the cookie sheet for about 2 minutes or until set. Then transfer to a wire cooling wrack.
Recipe originally from: Sprinkle Bakes
I just tried making this. It wasn't very doughy and I had to throw it out. Any tips on how to make it better?
ReplyDeletei've never seen a cookie recipe use cold butter
ReplyDelete