Showing posts with label easy dessert. Show all posts

Grilled Tropical Pound Cake and Pineapple

Thursday, July 31, 2014


Since becoming pregnant my taste and tolerance for food has really changed.  Let's be honest, my motivation to make things has changed quite a bit as well.  You may have noticed this by my (lack of) blogging lately.  But, rest assured, at 35+ weeks pregnant there is a light at the end of this preggo tunnel and not only am I super excited to meet this little bun I have been cooking but I am also excited to get into the kitchen and make some delicious things to share.  

For the time being I am on the lookout for easy, delicious things to make that require the least amount of thinking.  I have to say that I have fallen even more in love with Tastefully Simple while pregnant.  The ease of their recipes coupled with knowing that everything I have made from their product line has turned out great is really fantastic.  Let's be honest, there is nothing worse than putting any amount of time and energy into something and it doesn't turn out.  

A few weekends ago we had our annual couple's trip to the lake.  It was so fantastic to catch up, laugh and relax with three of our favorite couples.  Standing in the lake with the sun on my skin and weight off my joints was just about the most amazing thing ever.  After spending an entire day on/in the lake we came back for an awesome dinner.  I offered to bring dessert and it did not disappoint.  I had help from the ladies of the group who I have to say were great blogging assistants…racing the daylight, holding things at the grill and helping with "accessorizing" the last shot.  Here is how it went down 
 This recipe starts off with following the directions on the box of Tropical Pound Cake Mix.
 Pour the mix into a bowl
 Add in melted butter
 Water
 And stir.  Yep, that easy.
Pour the batter into a loaf pan
 Spread out on the top and pop this baby in the oven.  Just wait until you start smelling it bake!
 Next, I got to work on the pineapple
 Cut off the top
 And used this amazing pineapple tool to cut it into rings
 I'm seriously obsessed with this thing.  I detached the rings and placed them in a container to bring to the lake
 By that time the pound cake was done.  I let it cool completely and wrapped it in tin foil for travel.
 When we were ready to make dessert I cut the Tropical Pound Cake into nice thick slices
 Out to the grill we went
 First we added the pineapple rings to the top rack.  The grill was preheated on medium high heat.
 I lightly spritzed the pound cake with canola oil spray…coconut oil spray would work as well.
 On to the grill with the poundcake
 We monitored things very closely and after a few minutes, the pound cake was ready to be flipped.
 Same with the pineapple.
 To assemble, we placed the Tropical Pound Cake on the plate, topped with the grilled pineapple and a dollop of whipped cream.
 Paper umbrella optional but highly recommended.

I have to say this Grilled Tropical Pound Cake with Pineapple was a huge hit!  The pound cake stayed nice and moist and was perfectly complimented with the tart yet sweet pineapple and whipped cream.  Not only did this dessert wow our tastebuds, it was pretty stinking cute.

Grilled Tropical Pound Cake and Pineapple 
(serves 10)

1 box Tropical Pound Cake
3/4 cup melted butter
1 cup water
1 fresh pineapple
Canola or coconut oil spray
whipped cream for serving

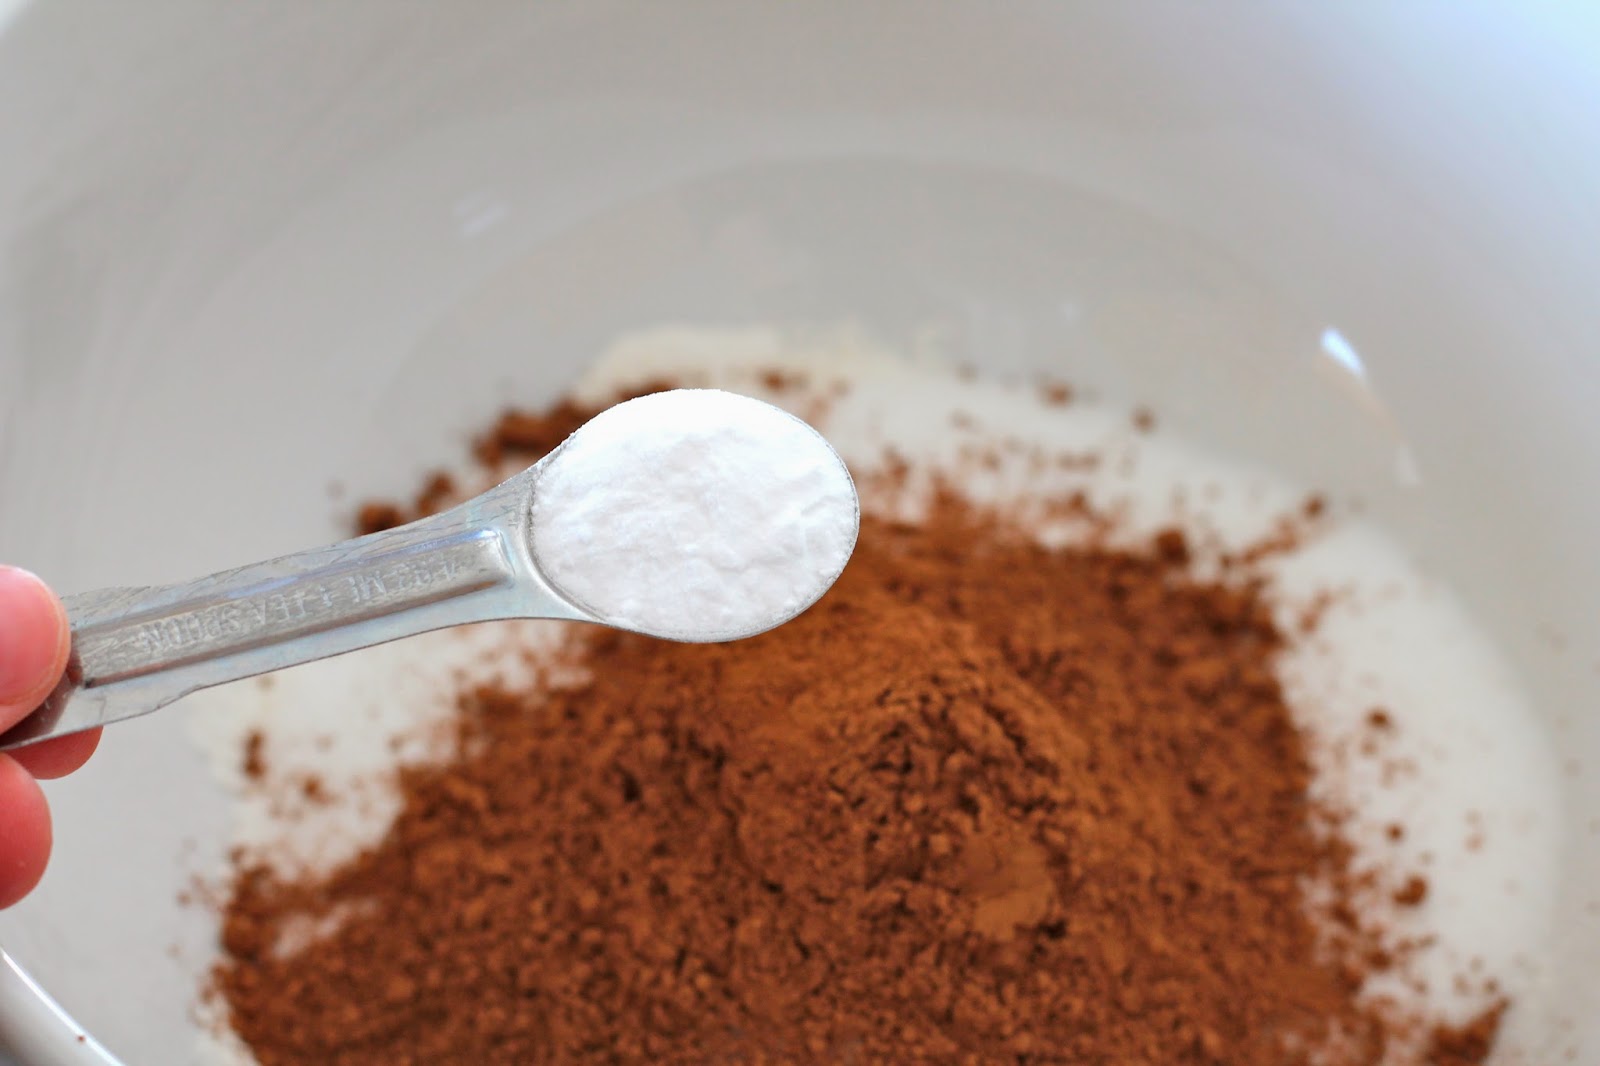
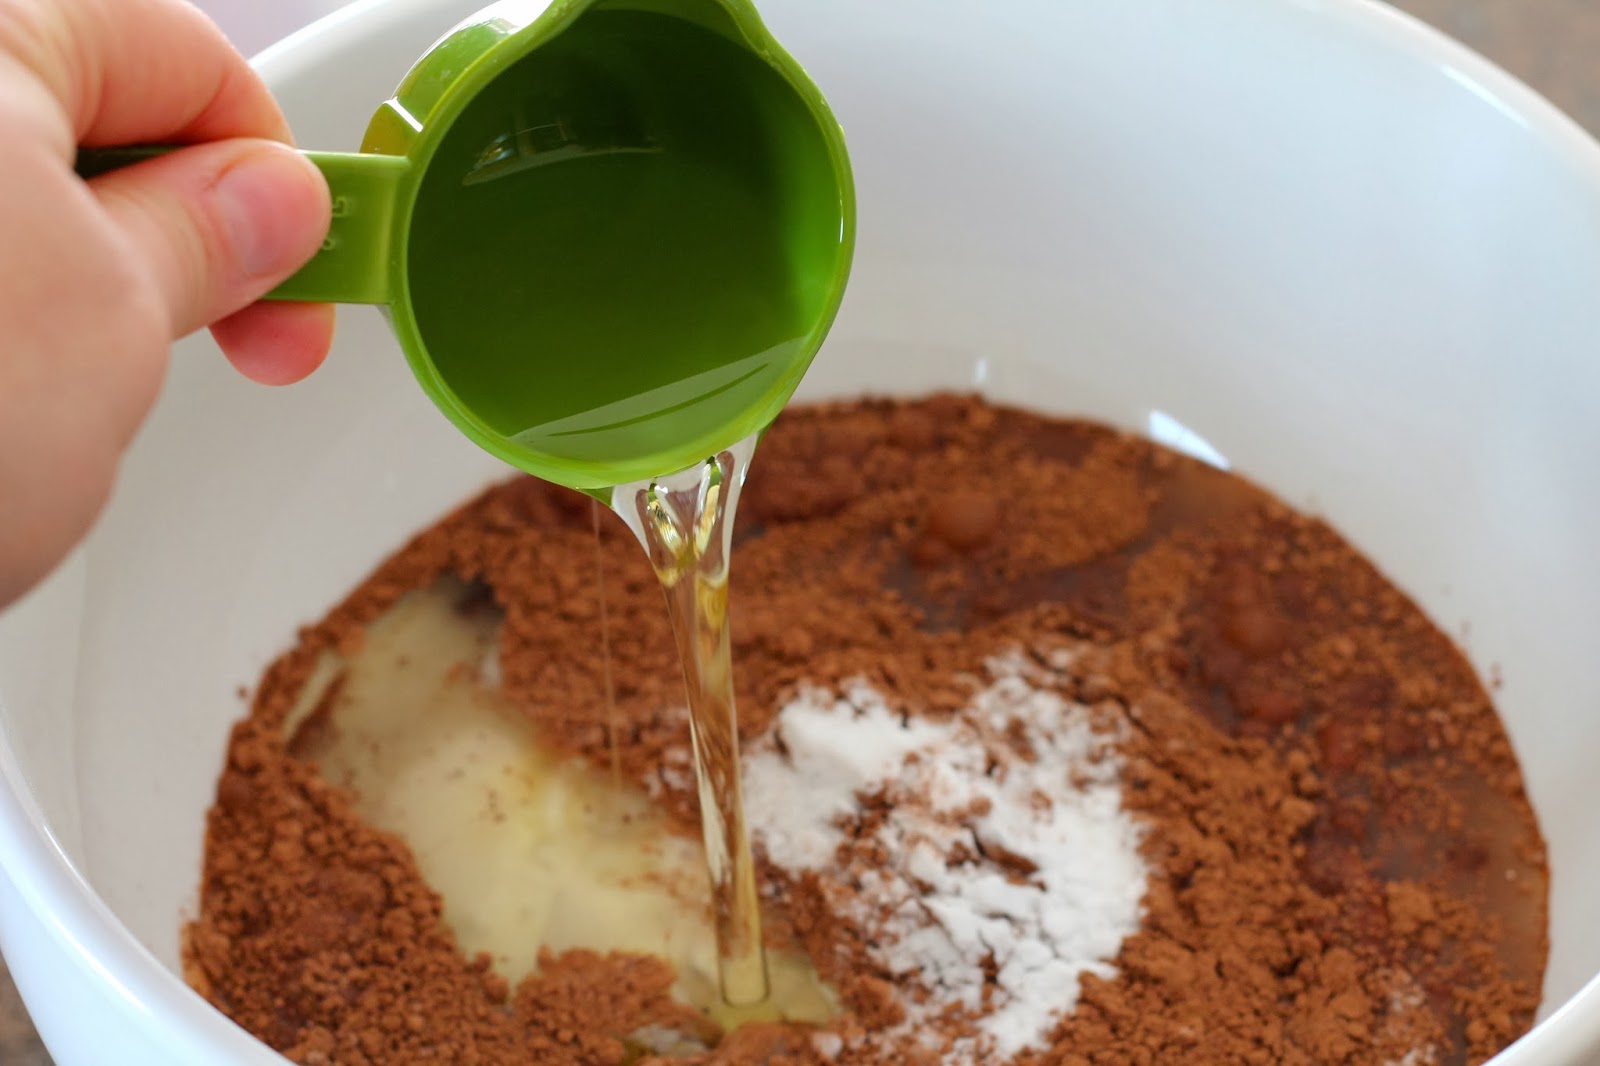
Start by preparing the Tropical Pound Cake by following the directions on the box.  Once baked, let cool completely and either serve or wrap in tin foil until ready to make dessert.

Cut the pineapple into rings.  Set aside until ready to grill.

When ready to make dessert, preheat the grill to medium high heat.  Place the pineapple rings on the top wrack of the grill.  Then lightly spray each side of the pound cake with the cooking spray.  Place on the main wrack of the grill and watch closely.  We didn't even shut the grill this happened so quickly.  Once the first side of the pound cake has grill marks, flip it to the second side.  Flip the pineapple to warm and make grill marks on the other side.  Once everything is all warm and grilled-marked up, remove from the grill to assemble.

Place the pound cake on a plate, top with a ring of pineapple and dollop of whipped cream.  Paper umbrellas really add something special as well :)

Enjoy!

Recipe by: Mrs. Schwartz

***DISCLAIMER: I was provided with product and compensation for this post from Tastefully Simple.  All opinions are my own and as aways, you can't buy my love, baby.**


Lush Lemon Pudding Cake

Tuesday, April 22, 2014


To be honest, I haven't had a lot of cravings with my pregnancy.  I have to say I have had more aversions (to food in general--except for mac and cheese and Ramen…poor baby) but the one flavor I have continued to crave is LEMON.  Luckily spring is lemon season.  

And, speaking of, Tastefully Simple came out with their new Spring and Summer product line and I was given a choice of products to review.  The Lush Lemon Pudding Cake Mix jumped right out at me.  I made it last weekend for my two equally lemon-loving family members (my husband and mom) and we all gave it rave reviews.  

As usual, this dessert couldn't be more simple.  Considering I feel like I'm going to toss my cookies at any given moment, I am thankful for the ease of the Tastefully Simple products.  A little cold and hot water, some mixing and this baby was in the oven.  Let me show you how easy it is… 

First, the packaging, seriously cute right?  Love the light blue and yellow.
Take packet 1 and pour it into a bowl
Combine with cold water and stir.
Spread into a greased 8x8 pan
Sprinkle with packet 2
Pour hot water over everything.  Into the oven it goes for 30-35 minutes
And it has transformed into a pudding cake; crispy on top pudding on bottom.  So good.
I garnished the dessert with a little whipped cream and twist of lemon. 
And it was lemon-y perfection.
I have a feeling I will be making this again in the very near future…for the baby of course :) 


**DISCLAIMER: I was compensated for this post since I am a blogger in Project Simplicity for Tastefully Simple.  I was also provided with the product.  But, as always all opinions are my own since you cannot buy my love, baby.** 


Chocolate Cupcakes with Whipped Nutella Frosting

Wednesday, January 22, 2014


Oh heeyyy!  I missed you guys after my little winter break.  How have you been!?  I thought to make up for my lack of posting I would come at you with something fantastic.  Something chocolate.  Something dreamy.  How about Chocolate Cupcakes with Whipped Nutella Frosting?  Yeah, that should fit the bill.  You will forget about my absence the moment you sink your teeth into these little chocolate pillows of heaven.  

They couldn't be easier to make!  These little babies start off with my mom's Crazy Chocolate Cake and are generously topped with Rosie's Nutella Cloud Frosting.  Let's just say, this is a match made in chocolate heaven.  Perfect for that upcoming holiday that involves hearts and pink and love.  I love that holiday.   
Start with some flour in a large bowl
Pour in some sugar
Cocoa powder
Baking soda
Salt
Cold water
Canola or vegetable oil
Vinegar
And vanilla.
That's it!  Just give it a quick stir
And pour it into a muffin tin lined with liners.  These adorable ones are from my co-worker Amy and they are from last spring.  Wilton makes them.
Pop them in the oven at 350 for about 17-18 minutes or so.  Remove from the tin and let cool while you work on the frosting.
I forgot to take my butter out so I cut it up in to little pieces so it came to room temp quicker.  Just a little tip for ya.
Then I got to work on melting some chocolate.
I like to do that in the microwave in 30 second intervals on high.
Every 30 seconds take it out and give it a good stir.
Until you have a nice smooth consistency.  When it almost looks completely melted, keep stirring and stirring until all of the chocolate chips have melted.   Then set the chocolate aside to cool.
Pop the room temperature butter into the bowl of a stand mixer
Along with the powdered sugar
Give it a quick mix
Pour in the vanilla and give it a really good whip.
It will come together better after the vanilla like so.
Pour in the chocolate and give it a good whip again.
Now we are talking.  Silky goodness.
But just wait, then you add the Nutella.
And salt
Mix again and there you have it!  That is some seriously silky, fluffy Nutella frosting.
Line a large glass with your piping bag and fill it up!
Naked cuppies are waiting!
Give them a good frost
And obviously some sprinkles.
How cute are these flower cupcake wrappers!?
But behold the true beauty.
That is some serious chocolate business. 
And I like it.


Chocolate Cupcakes with Whipped Nutella Frosting 
(makes 12 cupcakes)

1 1/2 cups all-purpose flour
1 cup white sugar
2 tablespoons and 2 teaspoons cocoa powder
1 teaspoon baking soda
1 teaspoon salt
1 cup cold water
1/3 cup vegetable or canola oil
1 1/2 teaspoons white vinegar
1/2 teaspoon vanilla

Start with preheating the oven to 350 degrees.

Combine all of the ingredients in a medium bowl and stir, just until combined.  It is okay if you see some clumps, they cook out.

Scoop or pour the batter into a lined cupcake tin and place in the oven.  Bake the cupcakes for 17-20 minutes or until a toothpick inserted in the middle comes out clean.  Mine took exactly 17 minutes.

Remove from the oven and let cool, I took mine out and let them cool on a wire cooling rack.  Set aside for now.

Whipped Nutella Frosting

1 cup of room temperature butter
1 1/2 cups powdered sugar
2 teaspoons vanilla
3/4 cup chocolate chips
1/3 cup Nutella
1 pinch of salt

Start by melting the chocolate chips in a microwave safe bowl in 30 second intervals.  After each 30 seconds, take the chocolate out, stir and reassess if it is completely melted.  Mine took 3 intervals of 30 seconds on high.  Set the chocolate aside for now.

Add the butter and powdered sugar to the bowl of a stand mixer.  Combine on a low speed for about 1 minute.  Pour in the vanilla and combine again, it will come together better now that it has more moisture.

Pour in the cooled, melted chocolate and beat together on medium speed for about a minute or until combined.  Scrape the sides.  Sprinkle in the salt and give it a good mix on medium speed again and that's it!

Frost the cupcakes by either using a piping bag or simply with a knife.

Enjoy!!!!


Chocolate Cake recipe cut in half from my mom's Chocolate Crazy Cake Recipe 

Whipped Nutella Frosting recipe very slightly adapted from Rosie at Sweetapolita 


Made With Love By The Dutch Lady Designs